There are a lot of reasons your skin can look a little rough in the morning, from stress or a lack of sleep to tossing and turning during the night. Adding depuffing exercises to your skincare routine is a quick and easy way to boost your skin’s functions and appearance.
Massaging and depuffing your face helps your products absorb deeply into the skin and be more effective. Even better? Depuffing exercises instantly boost your complexion with amazing benefits. Facial massage stimulates your blood flow and helps promote lymphatic drainage, but it also perks up the natural contours of your face and instantly gives you an all-over glow.

How To Do A Facial Massage
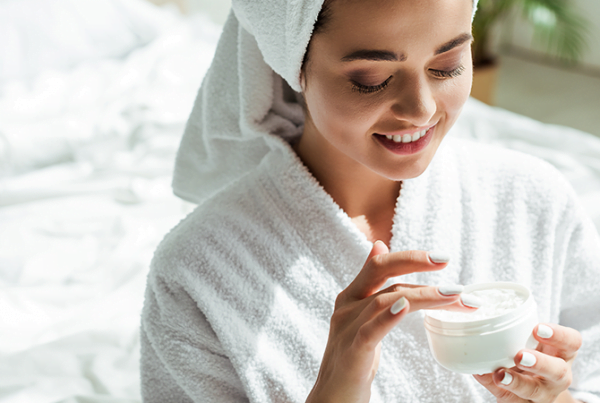
First, select the product you want to use during your facial massage. A good serum is perfect for using during depuffing exercises because you can really make sure that those beneficial ingredients get deep into your skin. Apply a small nickel-sized amount of your chosen product to your fingertips, and then massage the product into your skin using circular motions. Start at the outer contours and then move inward on your facial skin, doing these circular motions for about one minute.
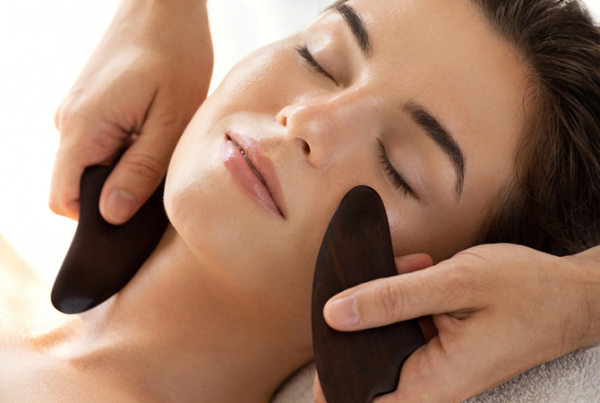
Next up, it’s time to massage your cheeks. To find the hollows of your cheekbones (the perfect spot to massage), open your mouth slightly. This might feel a little awkward the first time, but once you get the hang of it, it’ll be super natural. Once you’ve found the spot, apply gentle pressure using your index and middle fingers to massage your cheeks in upward motions. Lift, don’t pull—you’re trying to make your skin more plump and lifted, so don’t drag your skin downwards.
The last portion of the depuffing exercises involves your jawline. Use your fingers and thumbs to pinch along your jawline with firm pressure for a minute or two, continually squeezing and releasing. It sounds a little strange, but trust me—this component of the facial massage drastically increases your lymphatic drainage. All of the toxins, pollutants, irritants and bacteria end up in this area of your face, so this technique helps flush all of it out, reducing puffiness and leaving you with healthier skin.
The best way to end a facial massage is to give a little extra stimulation by tapping all along your skin. You can pat gently using your fingertips, and then go about your day or finish out your skincare routine.
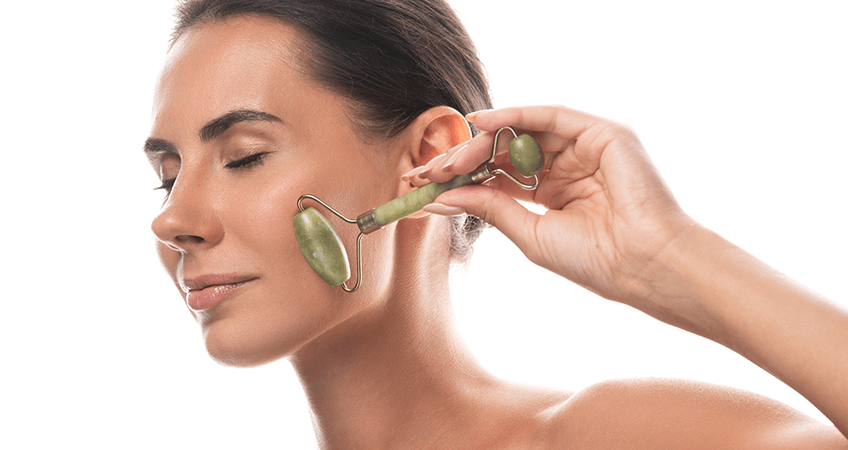
Want to give your facial massages a boost? Try using a jade roller! This jade facial roller supports lymphatic drainage, which helps reduce puffiness!
Other Depuffing Exercises You Can Do
Try Out “The V” Application Technique
This strategy is amazing for helping out with your drooping eyelids, crow’s feet, under-eye bags, and overall skin puffiness. It’s a simple, free, and natural alternative to procedures like Botox or eye surgery to lift the area around the eyes!
First, press your two middle fingers together at the inner corners of your eyebrows, and simultaneously, use both index fingers to press against the outer corners of your eyebrows. Apply pressure to these spots.
While looking up toward the ceiling, raise your lower eyelids upwards so that you’re squinting, then relax. Repeat this step a few times (six usually does the trick!) and then to finish things off, squeeze your eyes tightly shut for around 10 seconds.
You’ll feel less puffiness and over time will experience tons of benefits in your eye area, especially by alleviating your under-eye bags!
Use “The Smile Smoother” Technique
Some techniques help with under eye bags and puffiness, but depuffing exercises like the smile smoother technique benefit cheek lines and sagging facial skin. Specifically, it’s targeted toward giving you the effects of a lower face lift or fillers without having procedures done.
Make an ‘O’ shape with your mouth by covering your teeth with your lips. Then, smile widely while keeping your teeth hidden—this might sound a little tricky, but think of it like doing a closed-mouth smile stretch! Repeat this step around six times.
To finish up this facial massage technique, hold that same smile shape and place your index finger on your chin. Slowly start to move your jaw up and down while tilting your head gently back using your finger, holding the same mouth position but adding those jaw movements. Relax fully, and then repeat two more times for the best effects!
Smooth Your Brow Area
To help horizontal forehead lines naturally, place both hands on your forehead palm-sides down, and then spread all of your fingers out between your eyebrows and hairline. Sweep your fingers gently across your forehead while applying light pressure—relaxing and repeating this technique will help tighten your skin and eliminate lines or wrinkles from the forehead area!
Use Face Priming Depuffing Exercises
To help firm your entire face, you can actually lay down and target three major muscle groups: the temporalis, located on both sides of the head above your ears and used for chewing, the orbicularis occuli, which helps close your eyelids and surrounds your eyes, and the zygomaticus major—the muscle that lets you express yourself by smiling and frowning!
Once you’re lying down, form a long oval shape with your mouth, and then fold your lips over your teeth. Smile, lifting the corners of your mouth, and draw your cheek muscles up.
At this point, press your palms against your cheeks, resting your pinkies at the corner of each eye. Press the rest of your fingers across your temples and apply firm pressure. Then, pull your fingers up, toward the back of your head, pulling the corners of your eyes slightly up and back.
Close your eyes, pulling your chin forward. Once you feel pressure at the corners of your eyes and a tightening of your cheeks and scalp, hold for 20 seconds, then relax. Repeat this process three times for overall firming results for your whole face by strengthening those core muscle groups!
The Cheek Lifter
This final strategy to implement in your facial depuffing exercises helps fight the effects of gravity that lead to sagging cheeks. This exercise lifts your cheeks and defines your upper lip by strengthening the muscles around your cheeks.
First, open your mouth and form a long oval shape, folding your upper lip over your front teeth (the same strategy outlined in the face priming exercise above). Next, smile so that your cheek muscles are in a lifted position.
Placing your index fingers lightly on top of those cheek muscles–right under your eyes–relax your cheek muscles, letting them return to their original resting position. Then, smile again, pushing those muscles back up. Visualization can be helpful here: imagine pushing those muscles you just felt with your fingers up toward your eyes every time you smile.
Repeat this “push-up” style exercise 10 more times. When you reach the final exercise rep, hold your cheek muscles up as high as you can, imagining that they’re moving even further up. At this point, move your index fingers up over your scalp, and then hold the position for 20 seconds while looking up. For even more of a tightening effect, you can tighten your buttock area during your 20-second hold period. Release and relax, and then repeat three times to maximize the lifting effects on your cheek muscles!
With only a few basic steps, you can complete a facial massage quickly and easily on a regular basis. Adding in other depuffing exercises like the ones I outlined above can really revitalize your skin and have incredible benefits. Plus, these depuffing exercises don’t take too much time, and they’re really relaxing once you get the hang of them—self care and skincare go hand-in-hand!